What has been on my plate? I do have all the A blocks embroidered for Alice Caroline’s Country Quit. B1 is done and onto B2. This is becoming my evening project as the days are shorter, the light is not as bright and these eyes are showing their age. I need to start on some english paper piecing rings that go around the designs to that I feel that I may accomplish something.
I have been practicing my tatting. I think I have the basics of needle tatting down. I have learned to start with size 3 crochet thread and then go down to 20 or even 10. I have one ball of size 80 thread. What was I thinking???? The pumpkin I tatted with that is the size of my pinky finger nail. So, so tiny… My brain says you can do this and my eyes say WTF!
Shuttle tatting is a whole different story. How many videos have I watched… Many! I really want to learn this so that I can tat while husband is driving. Using a needle will be too dangerous. He does love his bumps and potholes!
And, yes, I now have a boatload of tatting books, patterns from the internet. The Online Tatting Class starts today and I am so looking forward to learning new things. The admin for this groups are fantastic so if you are interested in tatting, please give them a look and see.
]]>Mug Rug, or whatever!
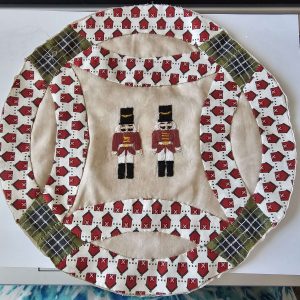
Double Wedding Ring block with one fabric arcs. Appliqued to the background fabric. Embrodiery pattern found on DMC website (free).
Elise Baek has kindly offered a discount on her mini double wedding ring english paper pieced templates. The discount is 20% with the offer good until July 7th, 2026. https://elisebaekshop.com/collections/double-wedding-ring. The code to get the discount is JANET. She has the designs for the full arc piece and also one that has 7 sections to it included in the purchase of the pattern.
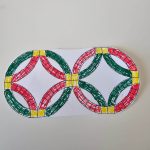
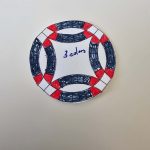
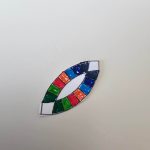
The first picture above is the one I colored for Christmas with red, green and gold. The second one is a 3 color ring. The last one is a scrappy one. Please excuse the coloring… I can’t draw a straight line with a ruler… and apparently coloring causes an issue also!
The block measures 9 inches so it is perfect for a mug rug. Link a few of the rings together for a table topper or a longer side by side rings for a table runner. And you don’t have to embroidery the center. How about just finding a fabric print you really like and go from there. Watercolor a picture in the center! The sky is the limit on your creativity.
I plan on using my Jack’s rose picture and place that in the center. But the question is to use embroidery or watercolor. But more on that process of watercolors in a future post.
Stay Tuned….. I hope to post each Wednesday until September.
]]>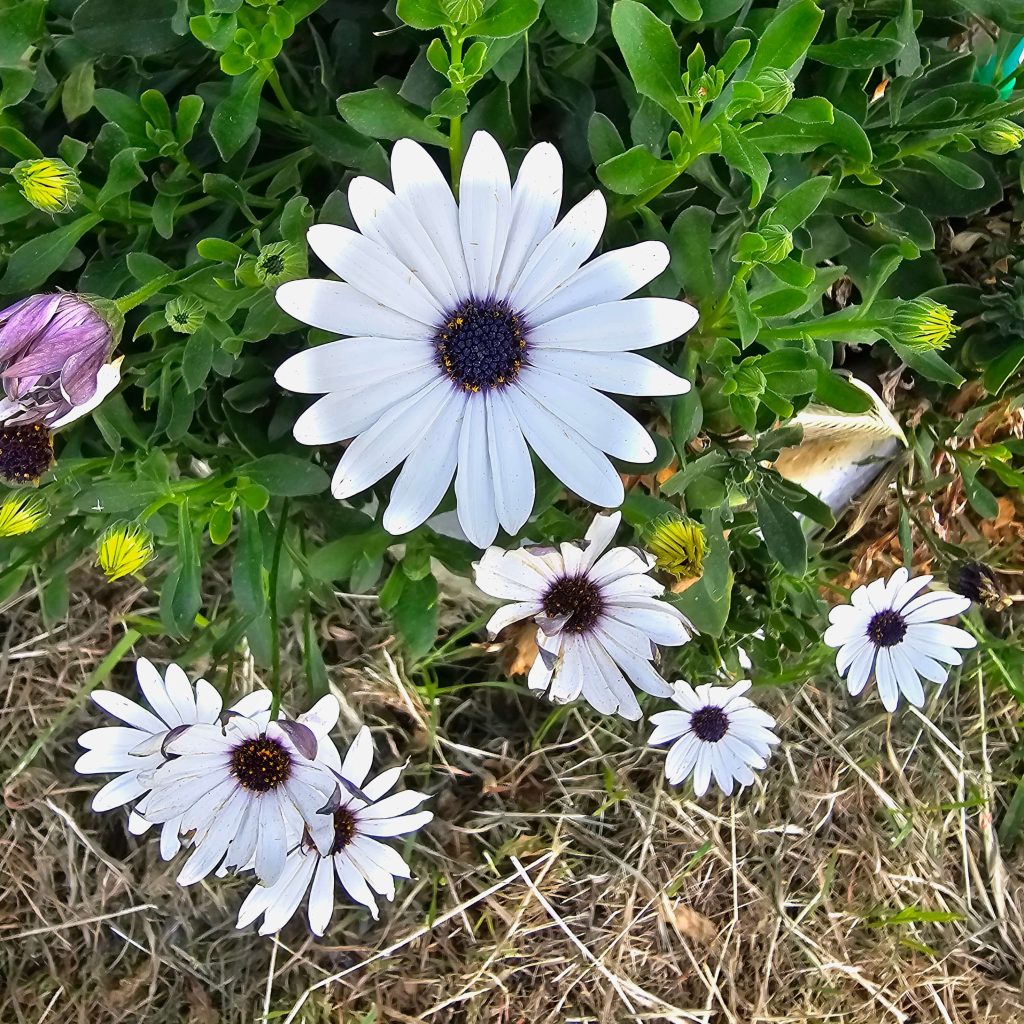
Every day I try to spend some time outside enjoying the sounds and beauty of nature. It inspires me to be creative, productive, and a calm person. I get my vitamin D and enjoy the sights. Occasionally, Mia may chase a lizard or a crow and disturb the quiet but she is allowed to do make those sounds. She always come back to me happy that she has protected me from another “danger.”
I have been working on my Alice’s Country Diary quilt for the last week. I have four out of twenty-five blocks embroidered. Are they perfect? Nope.. But nothing in nature is. Will this quilt be done this year? Probably not. I am enjoying the rhythm of the floss going thru the fabric to sew the designs. When I start with just an ink drawing on the white fabric and end up with a colored picture, it makes me happy. After all, it’s perfectly imperfect perfection!
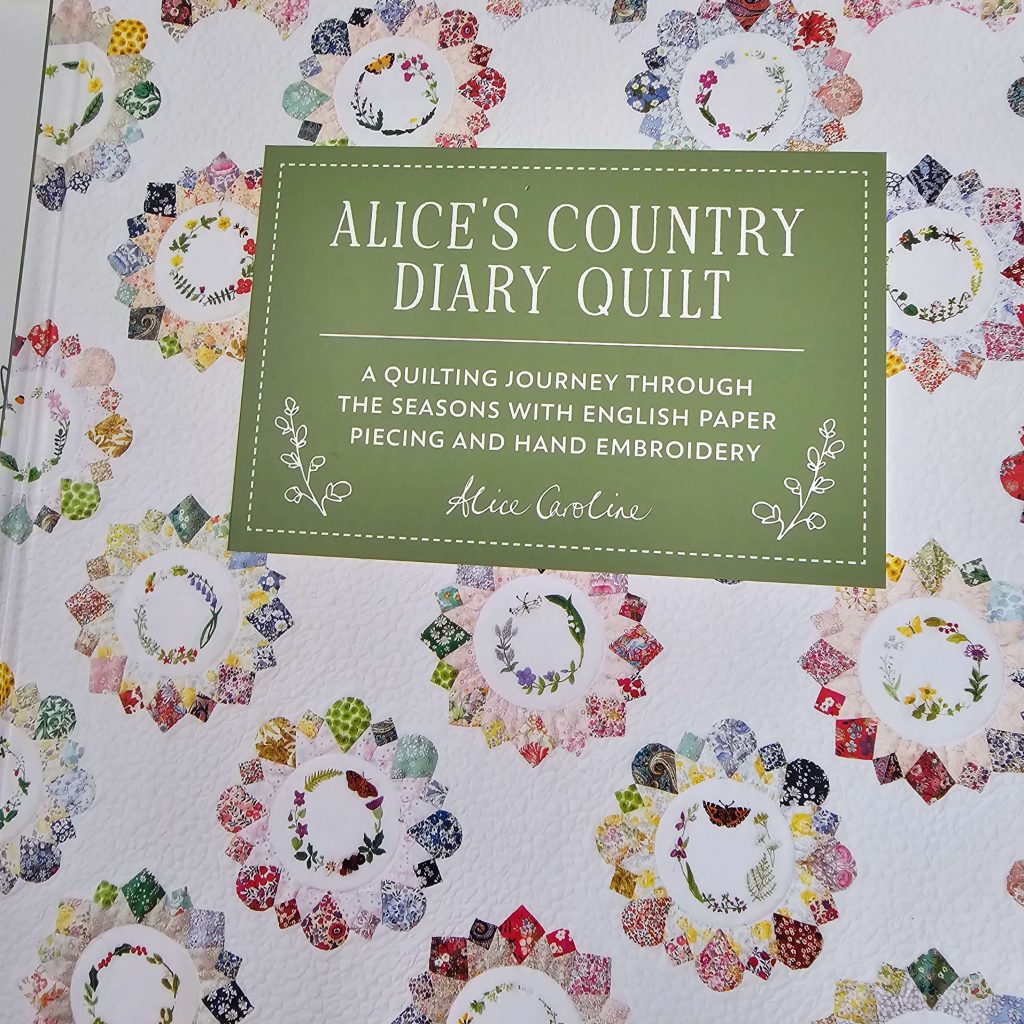
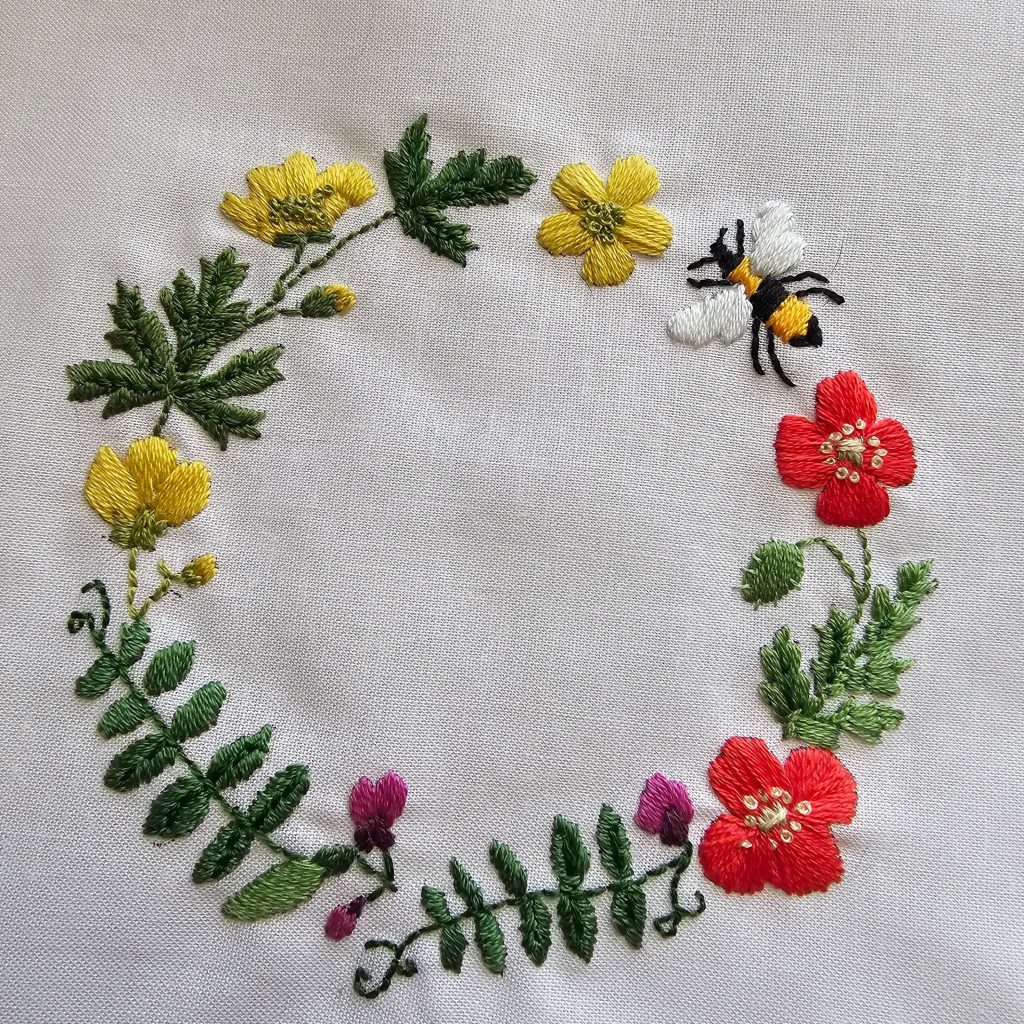
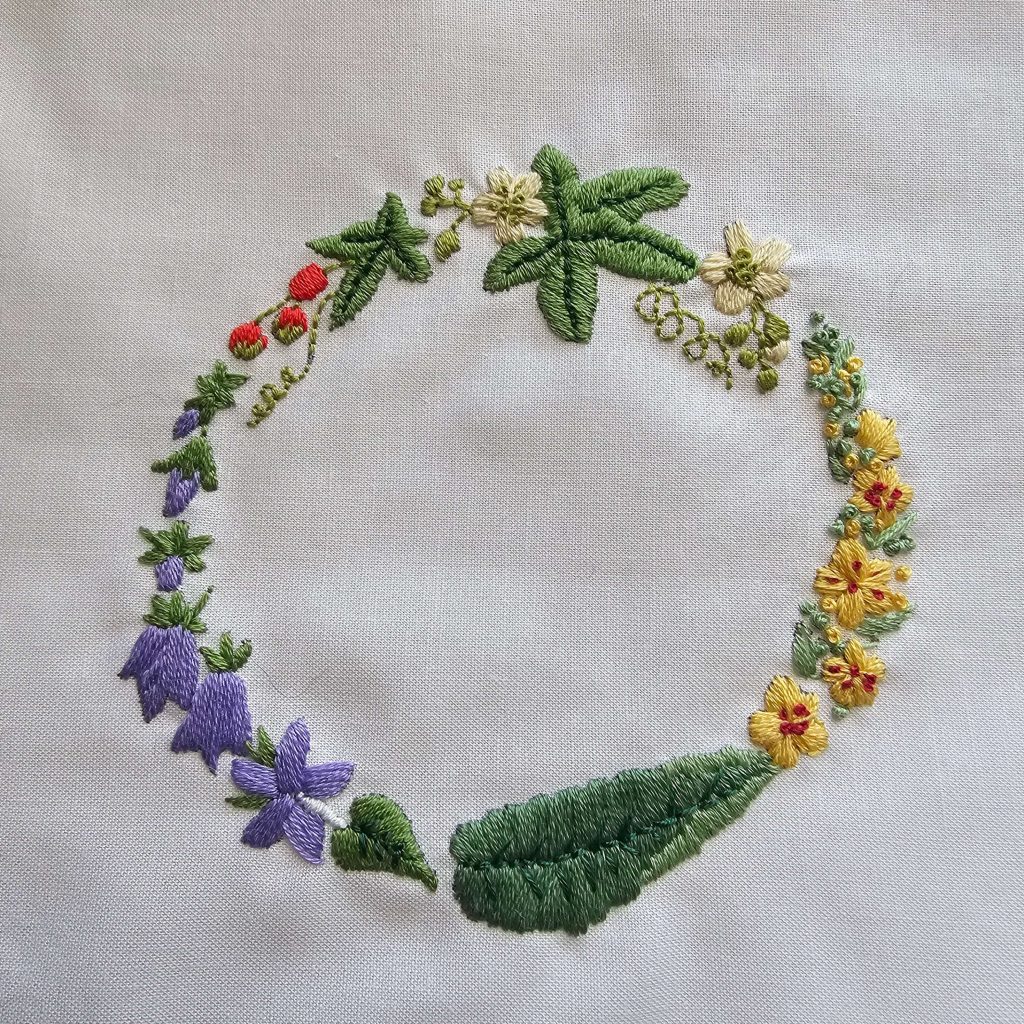
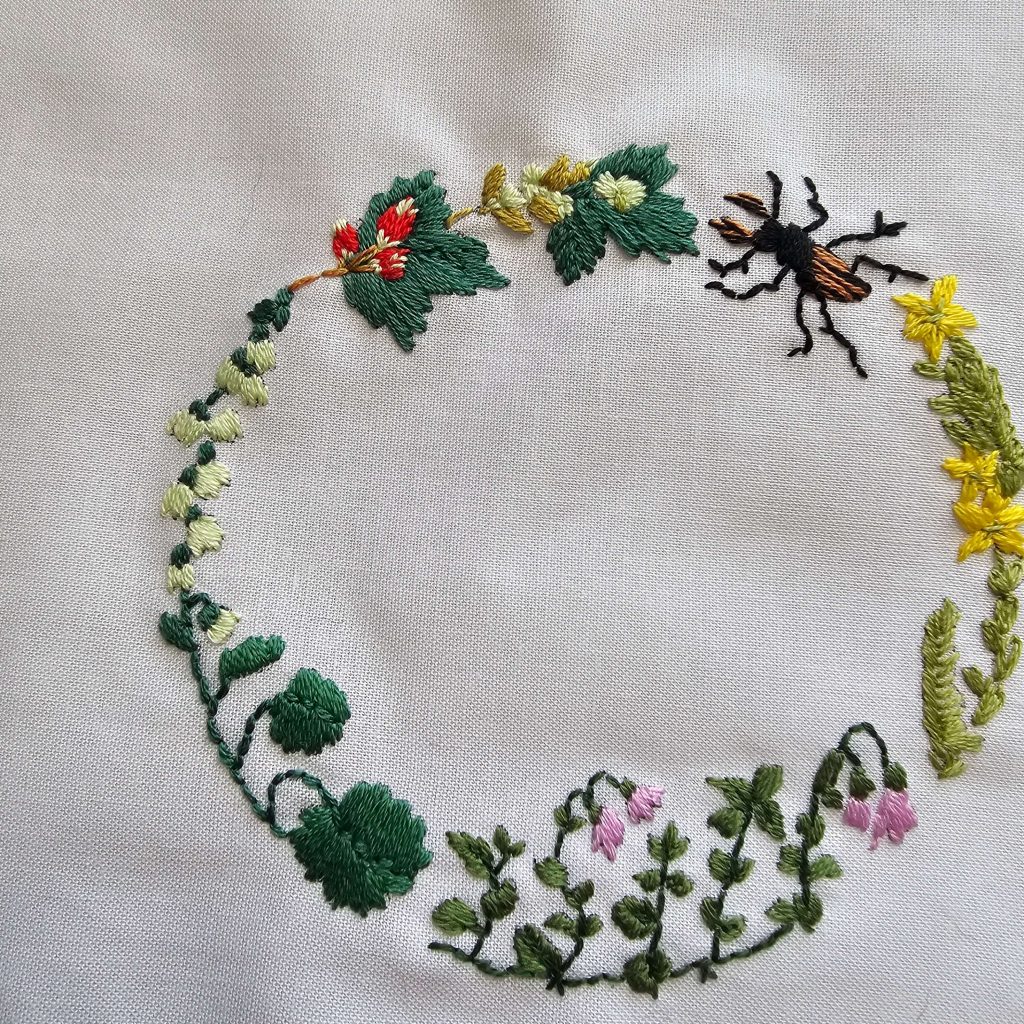
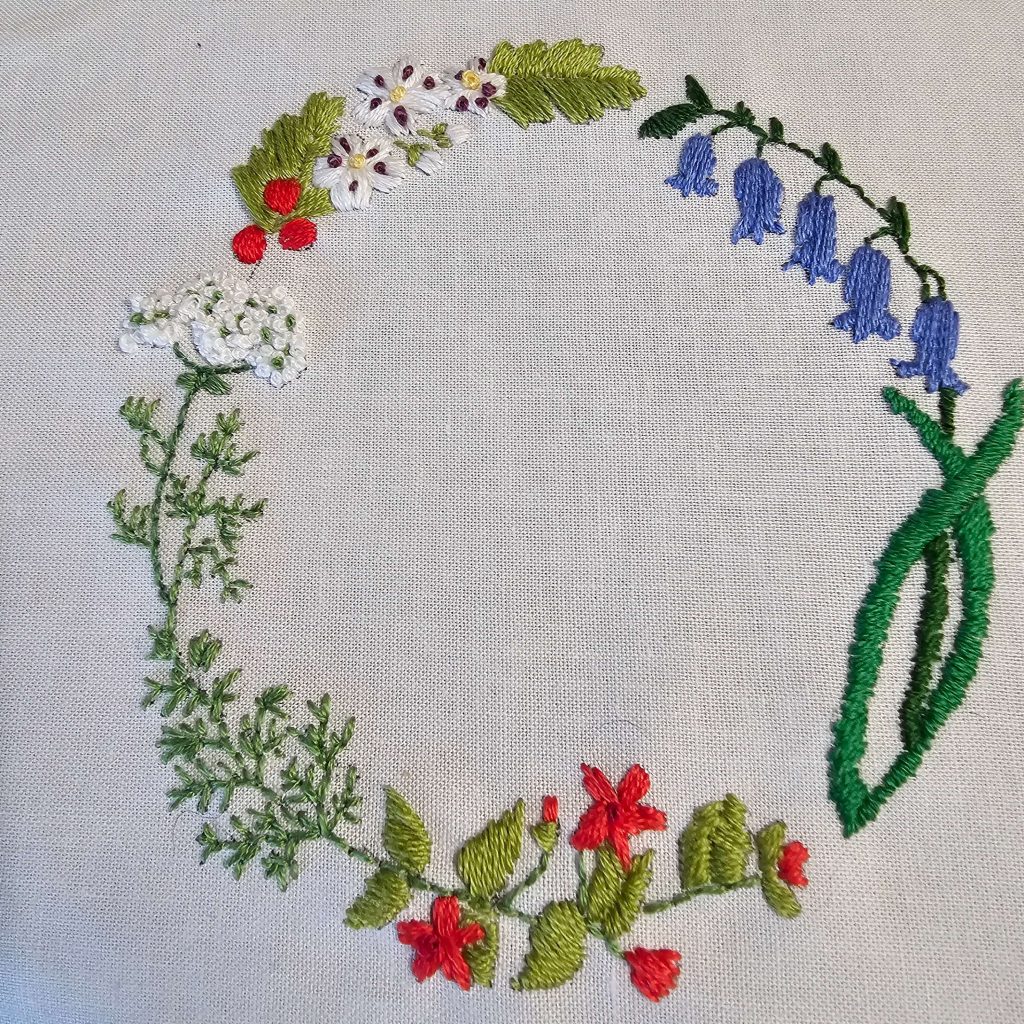
The embroidery on the blocks are created by Alice Caroline who designed this quilt. According to her introduction, it was inspired by walks in the local countryside in England. She describes the plants, flowers and insects. Each block is a masterpiece in creativity. Each piece is framed with an English Paper Pieced ring. More of those to come.
I am also working on a Christmas in July feature. Please subscribe to be notified of all the goodies I am working on. Most are fairly easy projects, using free quilt blocks, pictures, etc. I will give directions on how I made things, my inspiration, and my insanity of trying to make things work out.
Note: Book: Alice’s Country Diary Quilt, Illustrations by Alice Garrett and Laura Enriquez, Publisher: David & Charles Publishing All credit goes to these fine people. Thank you for sharing your talents.
Sneak peak: See what I made using this picture which our friend Jack took in the Christmas in July postings!

The hummingbirds have made themselves at home on the back patio. The feeder must be kept filled and ready for the visitors. There are three birds who visit the most.
Prissy is the tiniest one. You just look up and it is there. Quietly, it flies in and stays a while drinking and resting. Chirpy is the next one to appear. It lets us know when it is coming. It is a noisy little bugger, singing and flapping the whole time it is at the feeder. And the biggest one is Bossy. Bossy flaps the loudest, chases any other bird off the feeder and wants to be alone while feeding. If it wants to feed and another bird is there ,it will chase it away.
Alice’s Country Diary Quilt
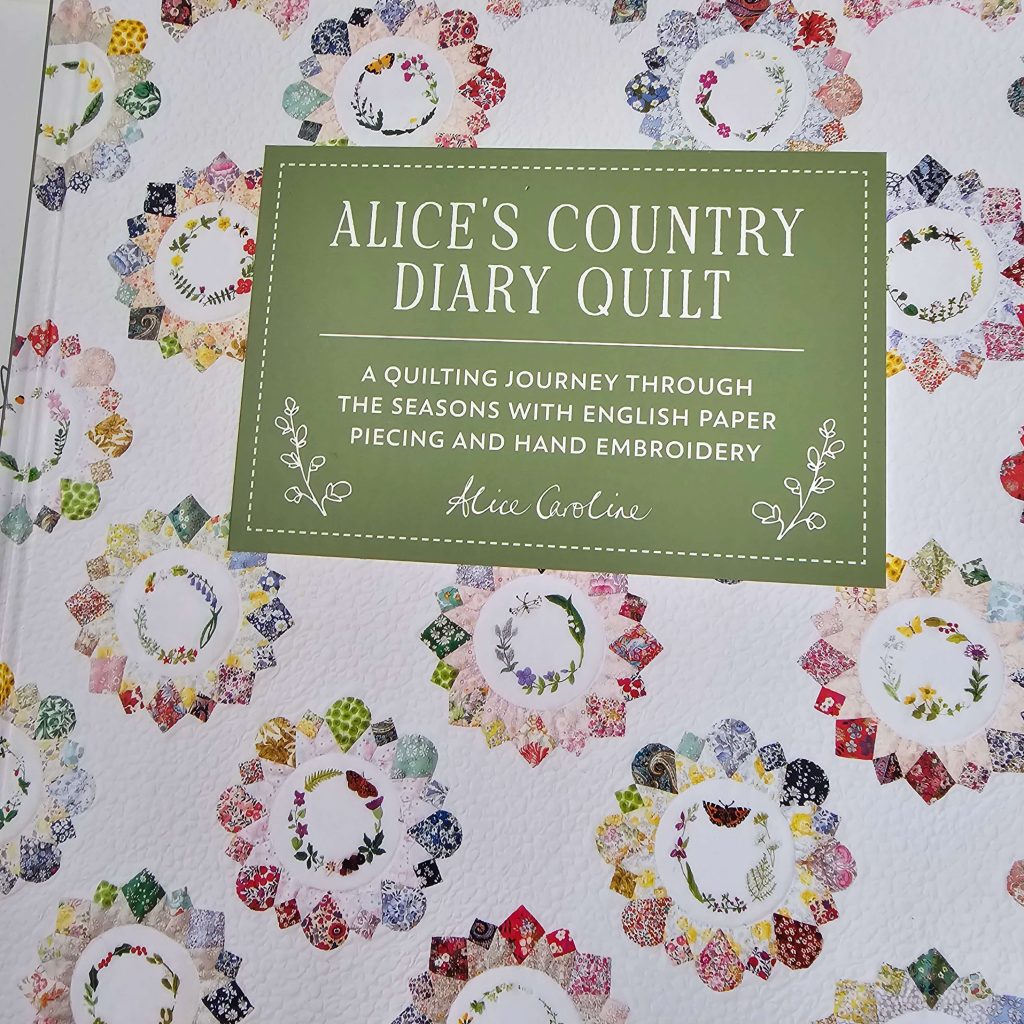
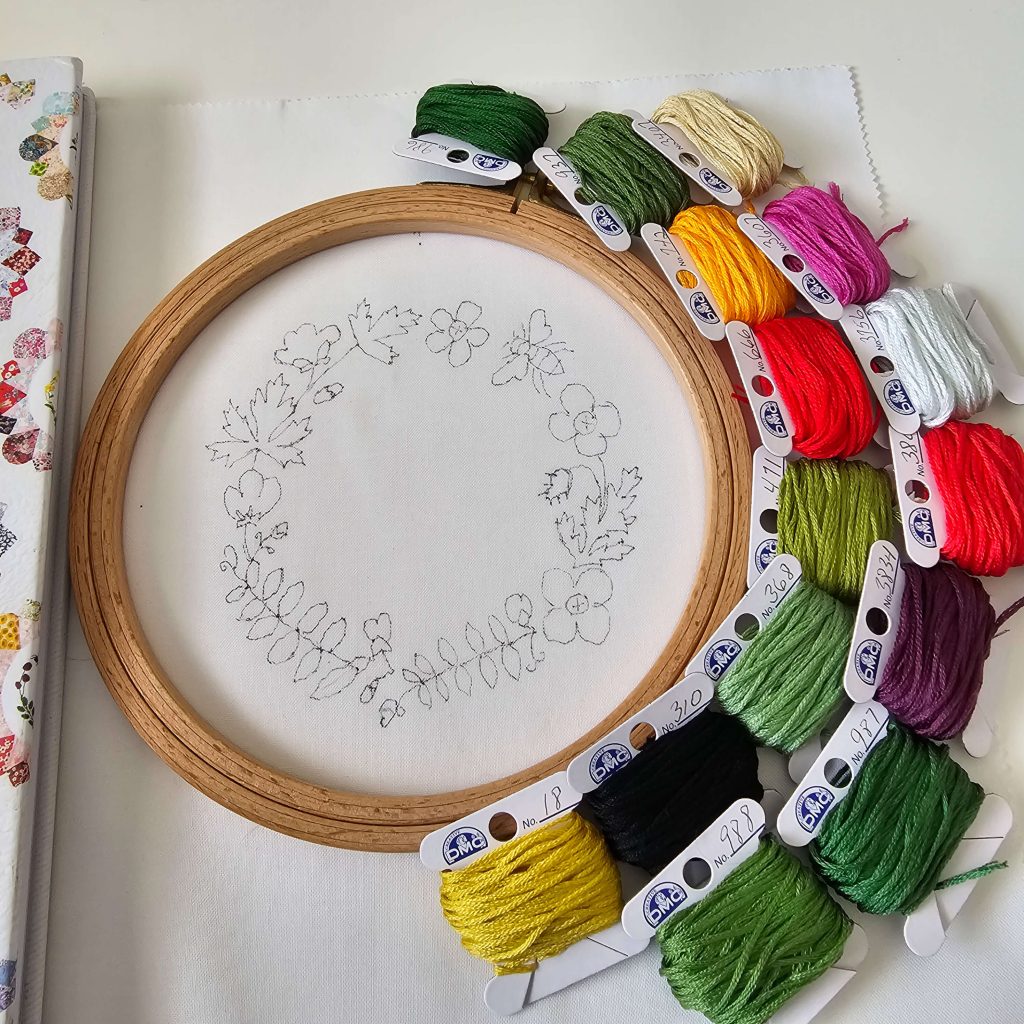
This is the next big project I am working on.. Alice’s Country Diary Quilt is both English Paper Pieced and embroidery. I am using the called for DMC as listed in the book. I am also using a layer cake of white bella solids for the embrodiery center. I have white bella fabric to use for the background, also.
I use a light box to trace the embrodiery pattern onto the fabric. I have a .005 fine point pen for tracing. It is fine enough that I can stitch right to the line or a little over it to hide it. It is a very portable project. The pieces for the epp are cut from jelly rolls of Emily Bell by Liberty Fabric. There are 25 embroidery blocks and some partial blocks to complete the quilt.
***Tip ~~ Run a lint roller over the top and bottom of your jelly rolls when you open them. It helps with all the fluff that can fly around and make you look like went through a snow storm!
Advent 2025 quilt
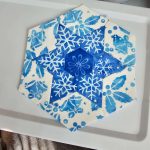
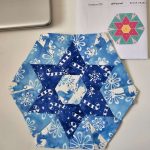
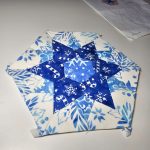
I am also working on Elise Baek’s 2025 Advent blocks. I hope to have those done by July 1. They are done with batiks and I must say they are a little rough on my fingers when trying to sew them together. I do have rock climbing tape that I use instead of a thimble for my fingers. By the way, if you ever see me rock climbing, call search and rescue. I am not in my right mind and I know this body can’t handle it!
Here are three of my blocks… I have 5 more to make out of 25.
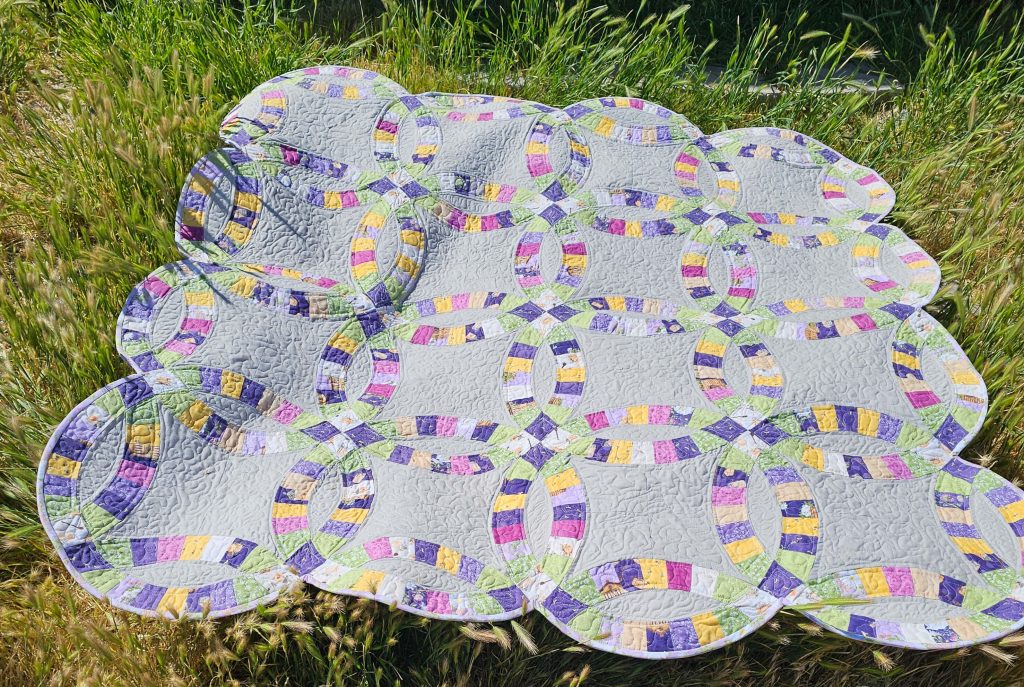
Double Wedding Ring Quilts are a big project no matter how you create it. Foundation Paper Piecing (FPP), English Paper Piecing (EPP) or pieced will require time. It took me almost 2 years to do this quilt. Some days it sat in time out.
I chose to do EPP. Elise Baek offers templates for this project. She also has You Tube videos on how to make it!
I like EPP as the process for doing this quilt because it can be a take along project. I am not chained to a sewing machine or sitting in one post. I took it everywhere! It went camping, appointments and waiting in the school pick up are for my grandson. I did chose not to make a full size quilt. The blocks are approximately 18″ x 18″. My quilt turned out to be 56″ x 56″ when finished
I used the acrylic templates for the rings offered at Elise’s website to cut the fabric. I also used the svg files to cut the the paper pieces with my circuit. What a time saver that was. I chose to glue baste the fabric to the paper pieces since most of the pieces have rounded edges.
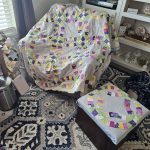
Now for the fun part! Let’s sew these arcs together. It was easy enough when I got the hang of it. There templates for the inner arcs and the inside of the ring. You can also applique the arcs to a piece of the background fabric. I did that for the footstool. It is an orphan block. The footstool now resides in our camper. The plan was for our dog to sit on it while traveling instead of my lap. My lap is used more than the footstool!
I chose to link the arcs (rings) together rather than applique. Once all the arcs were done the quilt was almost complete. Then it was time to create the quilt sandwich. I chose the a grey background fabric and machine quilted it with a meander stitch.
When that was done, I cut 1.5″ bias strips for the binding. It was sewing to the top of the quilt and wrapped around to the backing. I had stitched it down to the back.
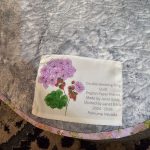
Don’t forget to add your quilt label! You did all this work. Take pride in what you have accomplished! It is a work of art.
Now the completed quilt will be claimed by a rousing game of rock, paper, scissors played by my youngest grandson and my daughter.. He has already told me how he will cheat……
]]>